Bootstrap Button Style
Intro
The button features coupled with the urls wrapped inside them are maybe among the most crucial elements allowing the users to interact with the web pages and take various actions and move from one page to some other. Especially currently in the mobile first world when about half of the web pages are being viewed from small-sized touch screen gadgets the large comfortable rectangle areas on display very simple to discover with your eyes and tap with your finger are more important than ever. That's why the brand new Bootstrap 4 framework advanced providing more comfortable experience giving up the extra small button size and adding in some more free space around the button's subtitles to get them a lot more easy and legible to use. A small touch adding a lot to the friendlier appeals of the brand new Bootstrap Button Input are at the same time just a little bit more rounded corners that along with the more free space around helping make the buttons a lot more satisfying for the eye.
The semantic classes of Bootstrap Button Toggle
For this version that have the same variety of awesome and easy to use semantic styles bringing the ability to relay indicating to the buttons we use with just incorporating a particular class.
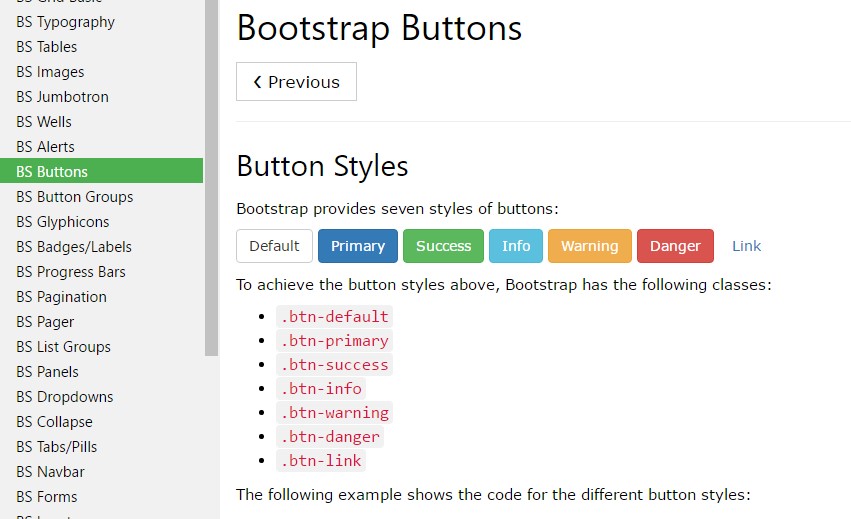
The semantic classes are the same in number just as in the latest version but with several enhancements-- the hardly used default Bootstrap Button usually having no meaning has been dismissed in order to get changed by the much more intuitive and subtle secondary button styling so right now the semantic classes are:
Primary
.btn-primaryInfo
.btn-infoSuccess
.btn-successWarning
.btn-warningDanger
.btn-dangerAnd Link
.btn-linkJust be sure you first incorporate the main
.btn
<button type="button" class="btn btn-primary">Primary</button>

<button type="button" class="btn btn-secondary">Secondary</button>

<button type="button" class="btn btn-success">Success</button>

<button type="button" class="btn btn-info">Info</button>

<button type="button" class="btn btn-warning">Warning</button>

<button type="button" class="btn btn-danger">Danger</button>

<button type="button" class="btn btn-link">Link</button>
Tags of the buttons
The
.btn<button><a><input><a>role="button"
<a class="btn btn-primary" href="#" role="button">Link</a>
<button class="btn btn-primary" type="submit">Button</button>
<input class="btn btn-primary" type="button" value="Input">
<input class="btn btn-primary" type="submit" value="Submit">
<input class="btn btn-primary" type="reset" value="Reset">
These are however the one-half of the possible forms you are able to add to your buttons in Bootstrap 4 since the updated version of the framework additionally gives us a brand new slight and beautiful approach to style our buttons always keeping the semantic we already have-- the outline procedure ( more helpful hints).
The outline mechanism
The pure background with no border gets replaced by an outline with some text with the related coloring. Refining the classes is undoubtedly easy-- simply provide
outlineOutlined Major button comes to be
.btn-outline-primaryOutlined Additional -
.btn-outline-secondaryNecessary factor to note here is there actually is no such thing as outlined link button in such manner the outlined buttons are really six, not seven .
Remove and replace the default modifier classes with the
.btn-outline-*
<button type="button" class="btn btn-outline-primary">Primary</button>
<button type="button" class="btn btn-outline-secondary">Secondary</button>
<button type="button" class="btn btn-outline-success">Success</button>
<button type="button" class="btn btn-outline-info">Info</button>
<button type="button" class="btn btn-outline-warning">Warning</button>
<button type="button" class="btn btn-outline-danger">Danger</button>
Extra content
Although the semantic button classes and outlined visual appeals are definitely awesome it is necessary to remember a number of the page's guests will not practically have the ability to check out them in this way whenever you do have some a little bit more special explanation you would love to add to your buttons-- ensure alongside the aesthetic methods you also add a few words identifying this to the screen readers hiding them from the web page with the
. sr-onlyButtons proportions
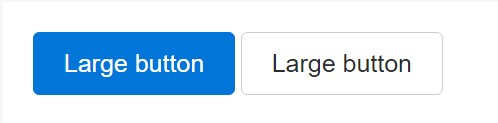
<button type="button" class="btn btn-primary btn-lg">Large button</button>
<button type="button" class="btn btn-secondary btn-lg">Large button</button>
<button type="button" class="btn btn-primary btn-sm">Small button</button>
<button type="button" class="btn btn-secondary btn-sm">Small button</button>
Write block level buttons-- those that span the full width of a parent-- by adding
.btn-block
<button type="button" class="btn btn-primary btn-lg btn-block">Block level button</button>
<button type="button" class="btn btn-secondary btn-lg btn-block">Block level button</button>
Active mechanism
Buttons will appear pressed (with a darker background, darker border, and inset shadow) when active.
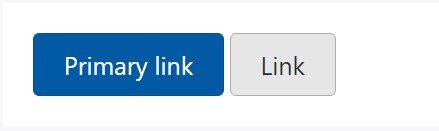
<a href="#" class="btn btn-primary btn-lg active" role="button" aria-pressed="true">Primary link</a>
<a href="#" class="btn btn-secondary btn-lg active" role="button" aria-pressed="true">Link</a>
Disabled mode
Oblige buttons seem out of service by simply adding the
disabled<button>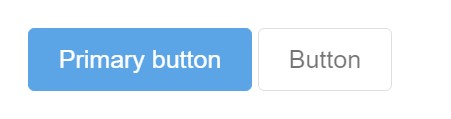
<button type="button" class="btn btn-lg btn-primary" disabled>Primary button</button>
<button type="button" class="btn btn-secondary btn-lg" disabled>Button</button>
Disabled buttons operating the
<a>-
<a>.disabled- A number of future-friendly styles are involved to disable every one of pointer-events on anchor buttons. In web browsers which assist that property, you will not notice the disabled cursor whatsoever.
- Disabled buttons have to include the
aria-disabled="true"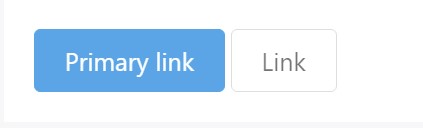
<a href="#" class="btn btn-primary btn-lg disabled" role="button" aria-disabled="true">Primary link</a>
<a href="#" class="btn btn-secondary btn-lg disabled" role="button" aria-disabled="true">Link</a>
Link usefulness caution
The
.disabled<a>tabindex="-1"Toggle features
Put in
data-toggle=" button"active classaria-pressed=" true"<button>.

<button type="button" class="btn btn-primary" data-toggle="button" aria-pressed="false" autocomplete="off">
  Single toggle
</button>
Even more buttons: checkbox and also radio
Bootstrap's
.button<label>data-toggle=" buttons".btn-groupTake note of that pre-checked buttons need you to manually provide the
.active<label>
<div class="btn-group" data-toggle="buttons">
  <label class="btn btn-primary active">
    <input type="checkbox" checked autocomplete="off"> Checkbox 1 (pre-checked)
  </label>
  <label class="btn btn-primary">
    <input type="checkbox" autocomplete="off"> Checkbox 2
  </label>
  <label class="btn btn-primary">
    <input type="checkbox" autocomplete="off"> Checkbox 3
  </label>
</div>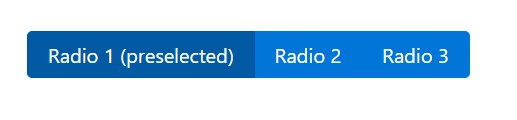
<div class="btn-group" data-toggle="buttons">
  <label class="btn btn-primary active">
    <input type="radio" name="options" id="option1" autocomplete="off" checked> Radio 1 (preselected)
  </label>
  <label class="btn btn-primary">
    <input type="radio" name="options" id="option2" autocomplete="off"> Radio 2
  </label>
  <label class="btn btn-primary">
    <input type="radio" name="options" id="option3" autocomplete="off"> Radio 3
  </label>
</div>
Solutions
$().button('toggle')Final thoughts
Generally in the new version of the most popular mobile first framework the buttons evolved aiming to become more legible, more friendly and easy to use on smaller screen and much more powerful in expressive means with the brand new outlined appearance. Now all they need is to be placed in your next great page.
Review several youtube video short training about Bootstrap buttons
Connected topics:
Bootstrap buttons formal information
W3schools:Bootstrap buttons tutorial
Bootstrap Toggle button