Bootstrap Radio Input
Introduction
Occasionally the little aspects turn out to be actually the very critical due to the fact that the whole pic is really a whole consisting of lots of small details perfected and collected in order to look and present like a well-oiled shiny machine. These kinds of strong phrases might actually look a little too much when it comes down to create regulations yet in the event that you just consider about it for a little bit there is definitely just a single feature making it possible for the site visitor to pick up one amongst a several obtainable opportunities. And so if you're featuring certain forms using this kind of solutions controls over your various websites does this suggest they will all look similar? And more significantly-- would you settle for that?
Happily for us the most recent version of one of the most famous mobile phone friendly system - Bootstrap 4 runs totally filled having a bright new solution to the responsive attitude of the Bootstrap Radio Button controls and just what is bright new for this edition-- the so called custom made form commands-- a combination of predefined appeals you have the ability to simply just take and use if you want to provide the so wanted in today times selection in the functional demonstrations of pretty uninteresting form items. In this degree let's inspect just how the radio buttons are aimed to be specified and designated in Bootstrap 4. ( find more)
Exactly how to employ the Bootstrap radio button:
For you to generate a radio button we initially require a
<div>.form-check.form-check-inline.radio.radio-inline.disabledIn the
.form-check<label>.form-check-label<input>.form-check-inputtype = “radio”name = “ ~ same name for all the options ~ ”id = “ ~ unique ID ~ “value=” ~some value here ~ ”disabled<input>This is additionally the place to identify assuming that you want the radio control to at first load like checked as soon as the webpage gets loaded. In the event that this is really what you're after-- instead of
disabledchecked<input>checkedCheckbox and even Bootstrap Radio Jquery situations
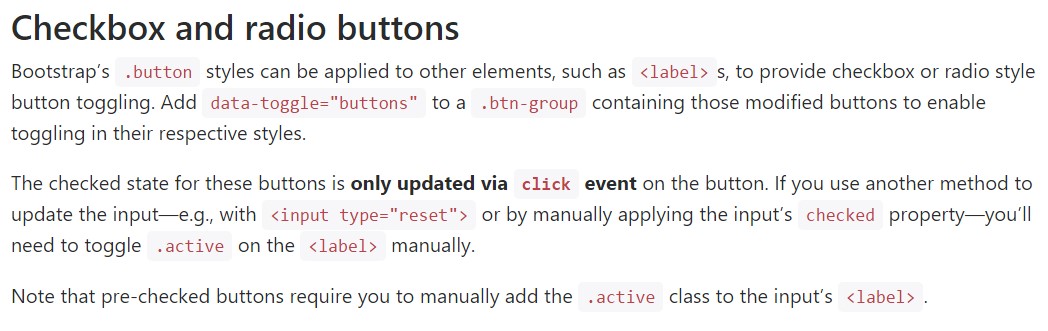
The examined condition for all these buttons is only updated by using click event on the button. If you make use of one other option to improve the input-- e.g., with
<input type="reset">.active<label>Take note that pre-checked buttons demand you to manually provide the
.active<label>Checkbox

<div class="btn-group" data-toggle="buttons">
  <label class="btn btn-primary active">
    <input type="checkbox" checked autocomplete="off"> Checkbox 1 (pre-checked)
  </label>
  <label class="btn btn-primary">
    <input type="checkbox" autocomplete="off"> Checkbox 2
  </label>
  <label class="btn btn-primary">
    <input type="checkbox" autocomplete="off"> Checkbox 3
  </label>
</div>
Radio

<div class="btn-group" data-toggle="buttons">
  <label class="btn btn-primary active">
    <input type="radio" name="options" id="option1" autocomplete="off" checked> Radio 1 (preselected)
  </label>
  <label class="btn btn-primary">
    <input type="radio" name="options" id="option2" autocomplete="off"> Radio 2
  </label>
  <label class="btn btn-primary">
    <input type="radio" name="options" id="option3" autocomplete="off"> Radio 3
  </label>
</div>
Radio button feature
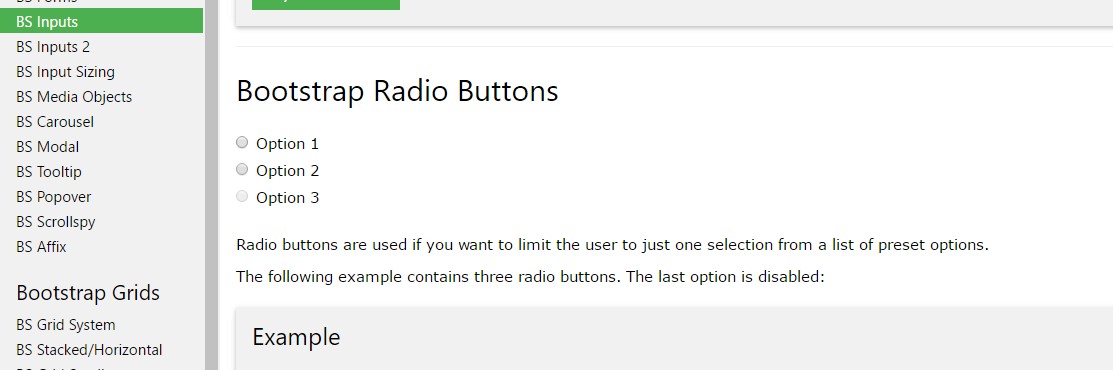
We are able to employ input elements of the radio form when we wish the user to select solely one of a series of possibilities. ( read more here)
Just one can surely be picked when there is higher than one feature of this particular style along with the equivalent value inside the name attribute.

<div class="row">
  <div class="col-lg-6">
    <div class="input-group">
      <span class="input-group-addon">
        <input type="checkbox" aria-label="Checkbox for following text input">
      </span>
      <input type="text" class="form-control" aria-label="Text input with checkbox">
    </div>
  </div>
  <div class="col-lg-6">
    <div class="input-group">
      <span class="input-group-addon">
        <input type="radio" aria-label="Radio button for following text input">
      </span>
      <input type="text" class="form-control" aria-label="Text input with radio button">
    </div>
  </div>
</div>
Final thoughts
Basically this is the manner in which the default radio tabs get determined and carry on along in Bootstrap 4-- in a moment all you really need are certain opportunities for the visitors to select from.
Look at a number of online video short training regarding Bootstrap Radio Button:
Connected topics:
Bootstrap buttons official records
Bootstrap Radio button - short training
Checkbox radio buttons break entire toolbar styling
